Following are detailed instructions on how to install SQL Server 2019 step by step. This is to help new DBAs a guided approach on how to install SQL Server 2019 on a physical or virtual machine.
To start you will mount the iso image as a drive. Once mounted you will be this in My Computer
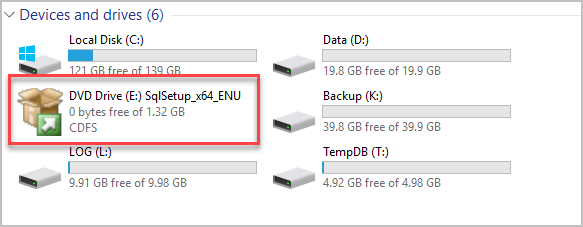
Right click on the E:\ drive and click Open:
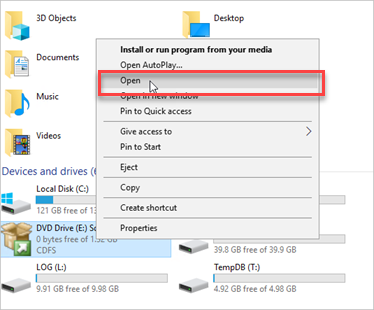
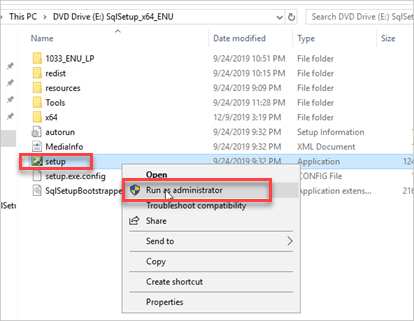
The drive content will be displayed:
Right click on setup and click on Run as Administrator.
The login you are using to RDP to the server must be an Administrator, otherwise you will not be able to continue with the SQL Server installation. If you do not have admin rights then work with your system admin to get admin privileges to this server. A lot of people assume that since they can RDP to the server they have sysadmin rights, this is not true. A user can be in the Remote Desktop User group which will grant you RDP rights to the server but this user that is part of the Remote Desktop User group does not have sysadmin privileges to the server.
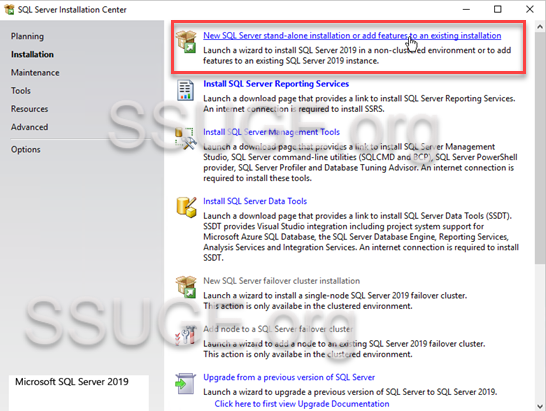
The following option will pop up:
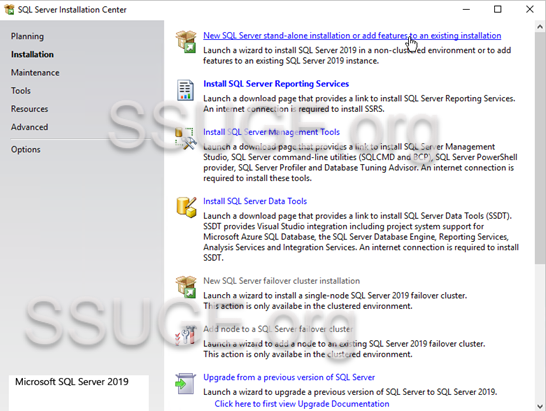
We are going to select the first option to start the installation of the SQL Server since this is a stand alone sql server installation:
Product Key screen:
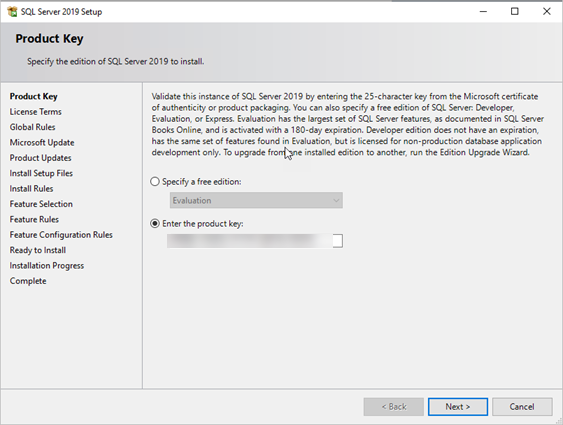
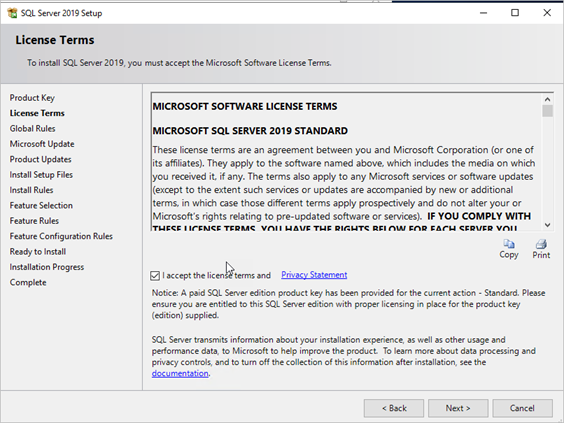
Click Next to see License Terms:
Check the box: I accept the license terms…
Click Next
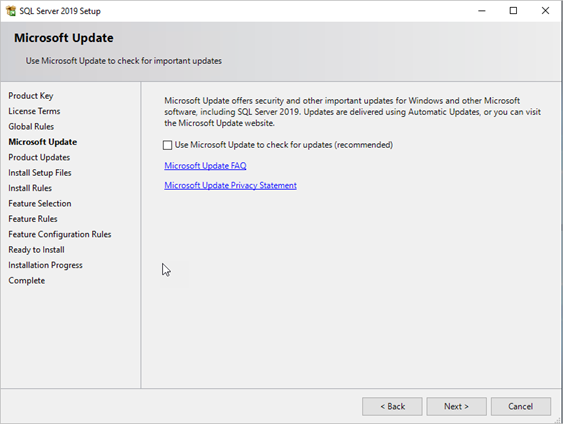
Microsoft Update:
I DO NOT select the box: User Microsoft Update to check for updates
Click Next…
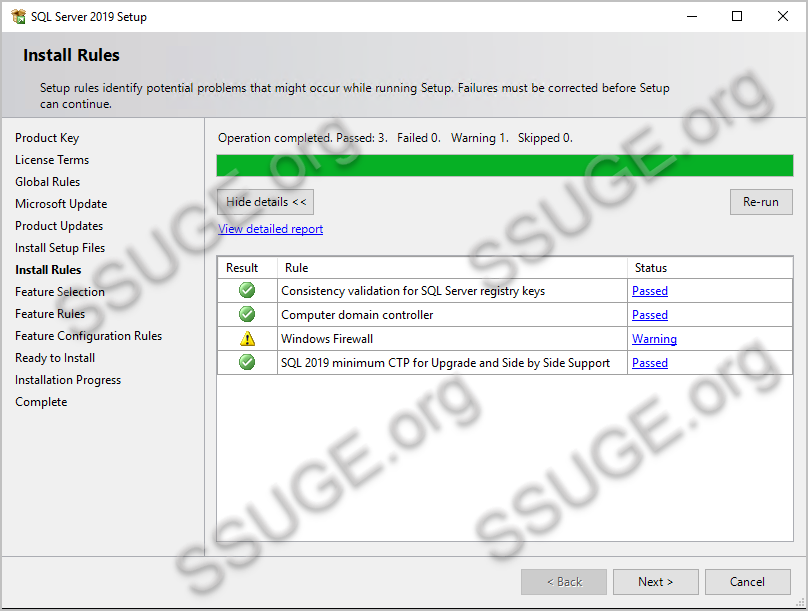
The Install Process will do some preliminary checks:
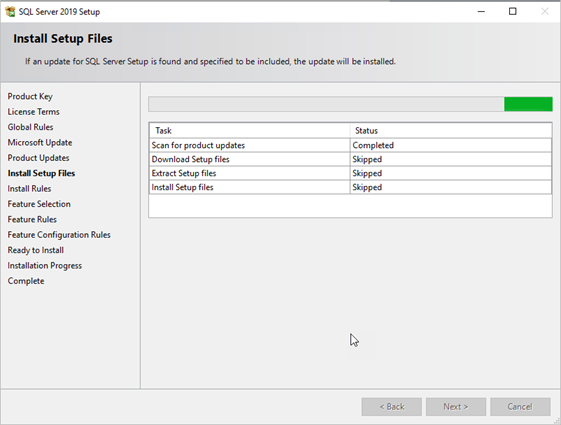
If any items shows as Failed then you will have to resolve it. Click on the Failed link for each respective item to get details of the failure. Passed and Warning are ok and will let you proceed with the SQL installation.
Click Next…
Here we select the Database Server components we want to install. You will have to decide from the existing SQL Server you will be replacing with this New installation as to which components to install on this new server.
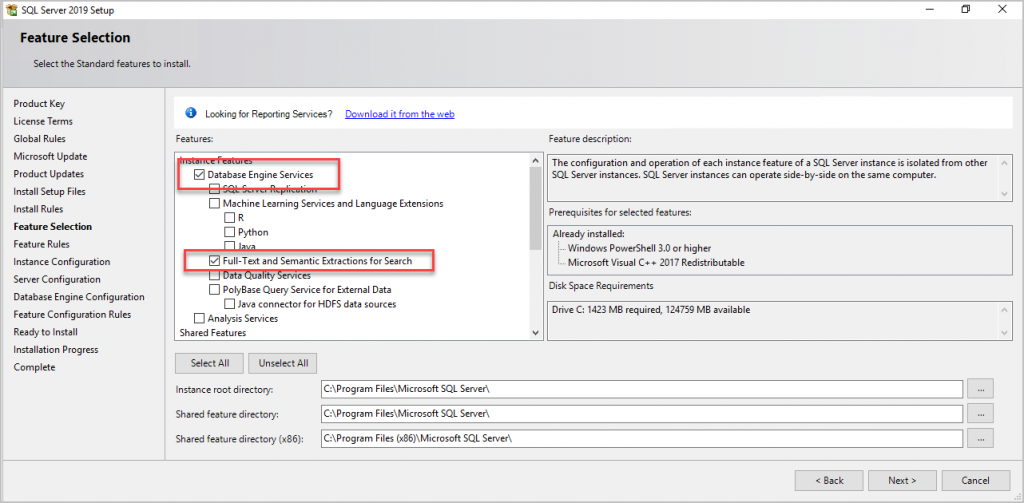
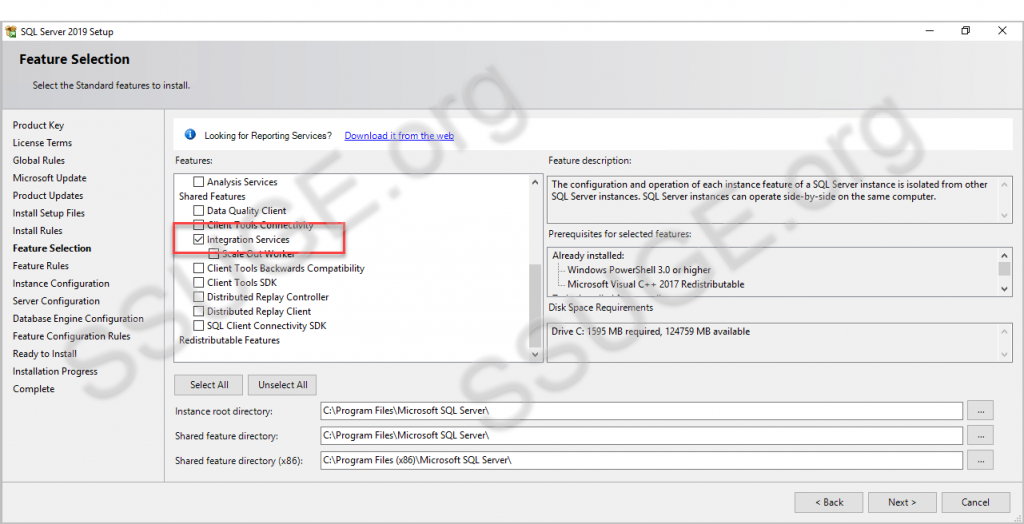
Click Next…
Here we decide if we are going to have this SQL Installation as a default instance or a named instance.
Default Instance: <ServerName>
Named Instance: <ServerName\InstanceName>
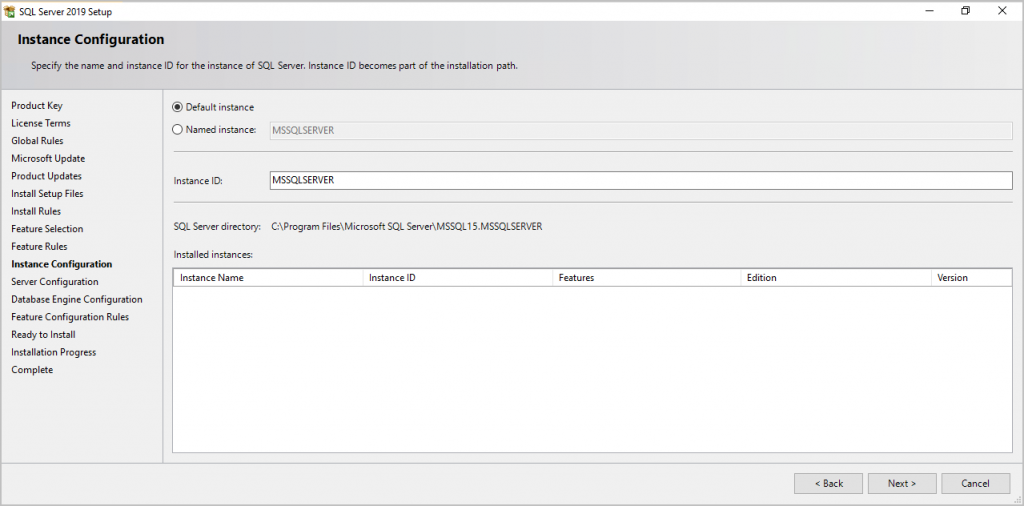
Click Next…
This will show us a summary of the SQL components we want to install:
Select the Collation Tab to select the SQL Collation you want to use for this SQL Server.
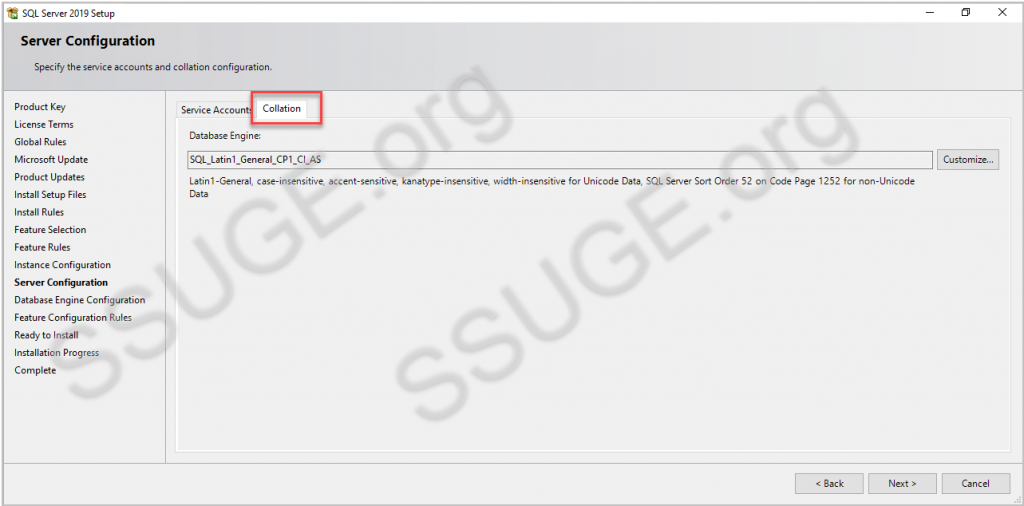
Click Next…
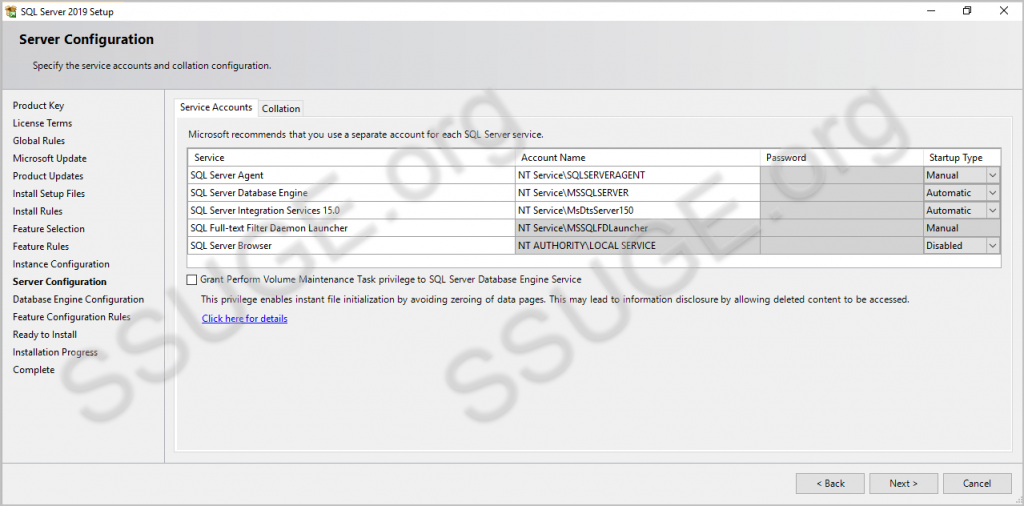
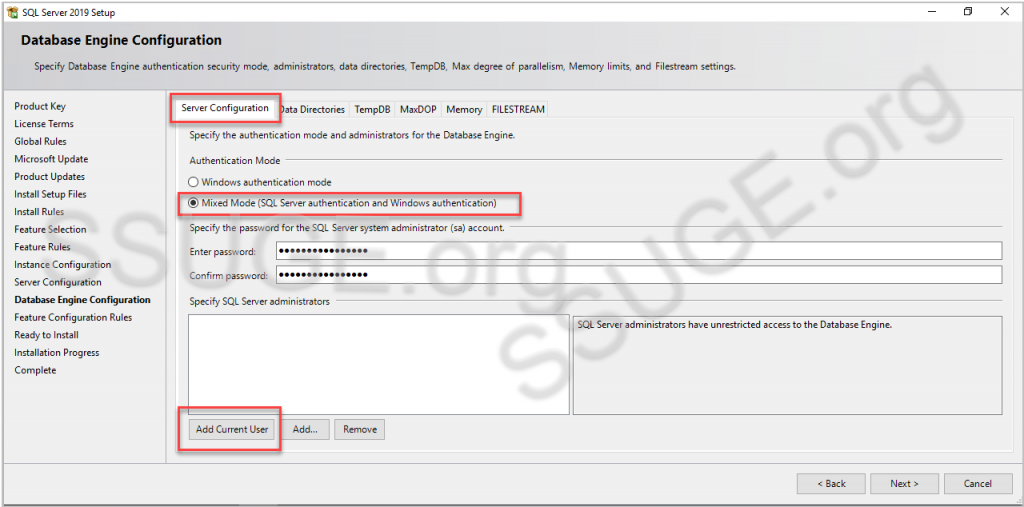
Server Configuration TAB:
Choose mixed mode and type in a secured password – this will be your sa login
Also, add Current User as Administrator plus another other AD users you need to add as the SQL Server Administrator.
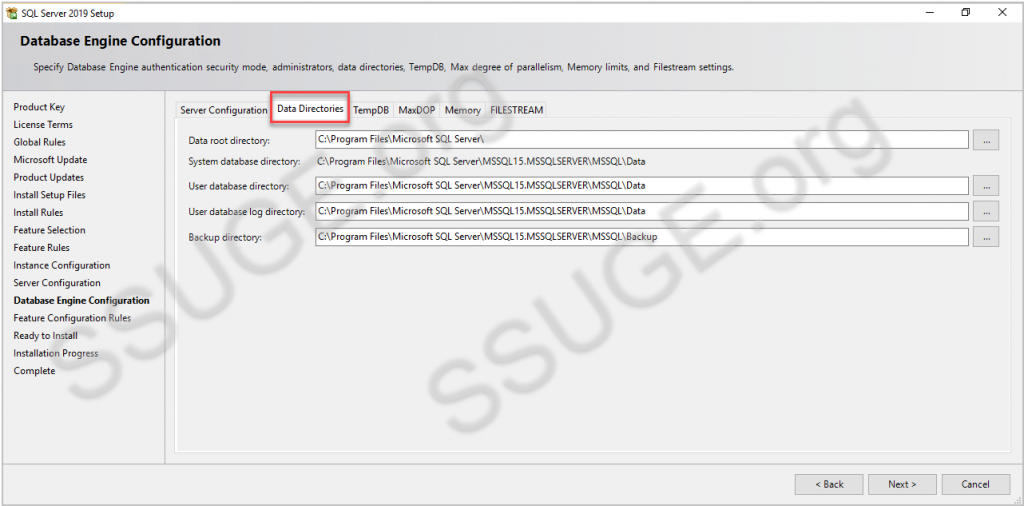
Click on the Data Directories Tab:
Here you can select the location of the Data and Log files of the System and User Databases including the Backup Directory.
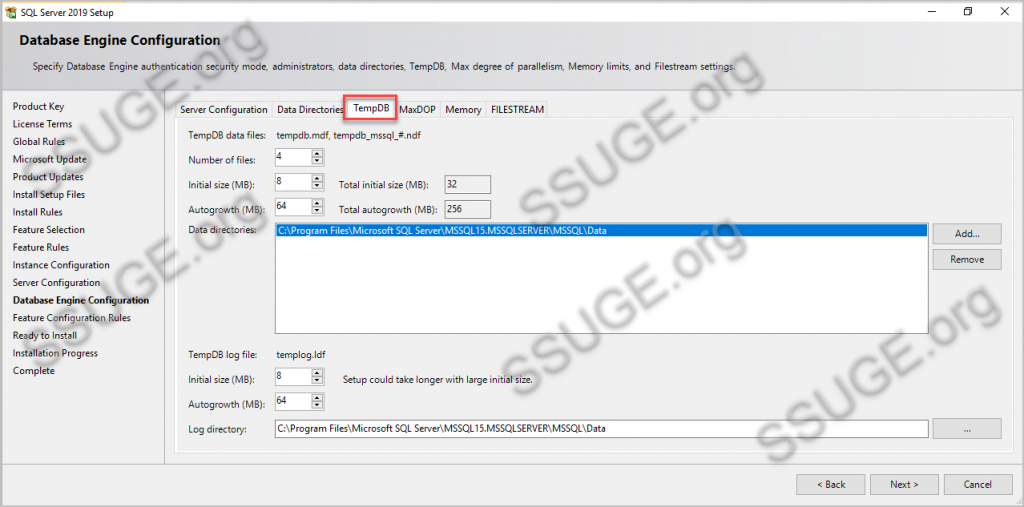
Next TAB is the TempDB configuration, Add/Remove any directories you want to place the tempdb files on. I usually just go with the default configuration of the tempdb recommended by the install media but if I see any performance bottlenecks then I go back in optimize the TempDB but for now I leave it as it.
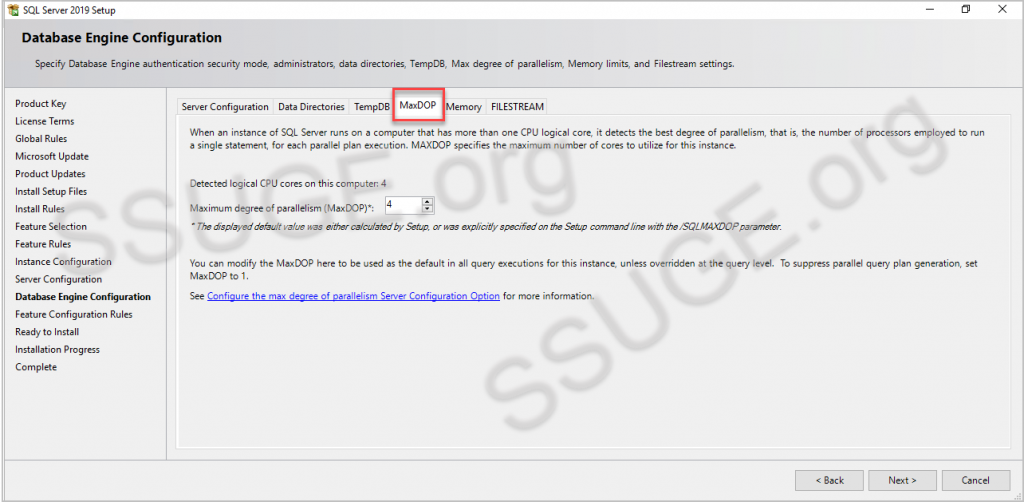
Next TAB: MAXDOP
Again for this configuration – I usually just go with the default configuration of the MAXDOP recommended by the install media but if I see any performance bottlenecks then I go back in optimize the MAXDOP but for now I leave it as it.
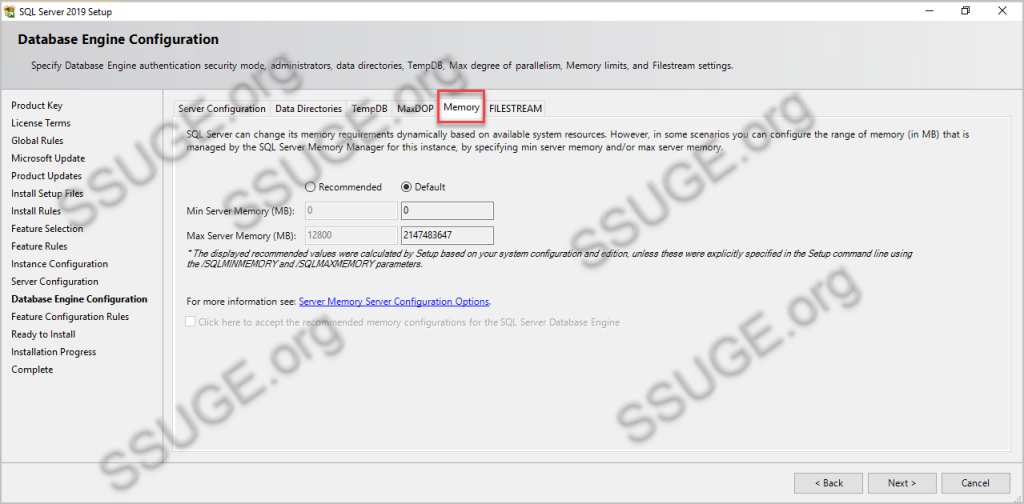
Next TAB: Memory
We will not get into Memory Optimization in this discussion as this is for SQL Server Installations – so
I will go with the default configuration for this setting.
Next TAB: FILESTREAM
We will not get into FILESTREAM in this discussion as this is for SQL Server Installations – so
I will go with the default configuration for this setting.
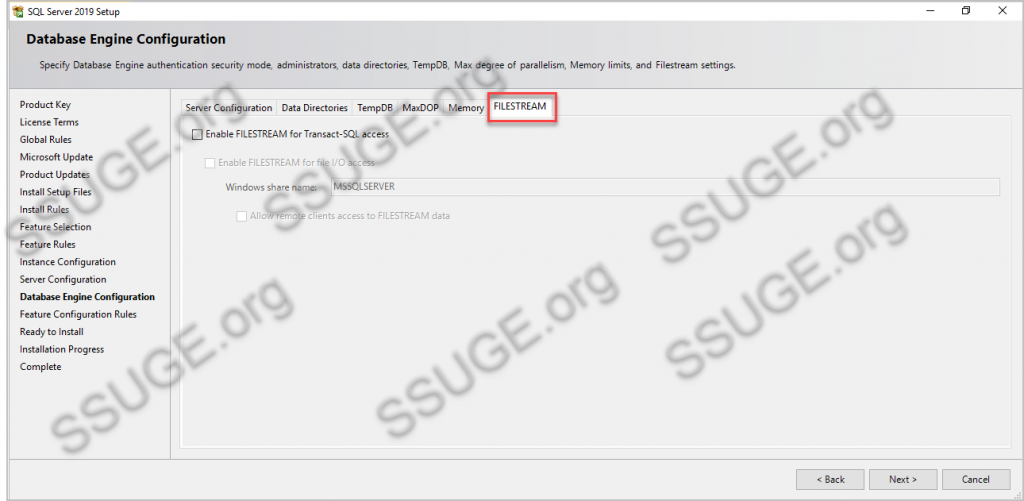
Click Next…
This will show you the summary of all the options we have selected for the sql installation.
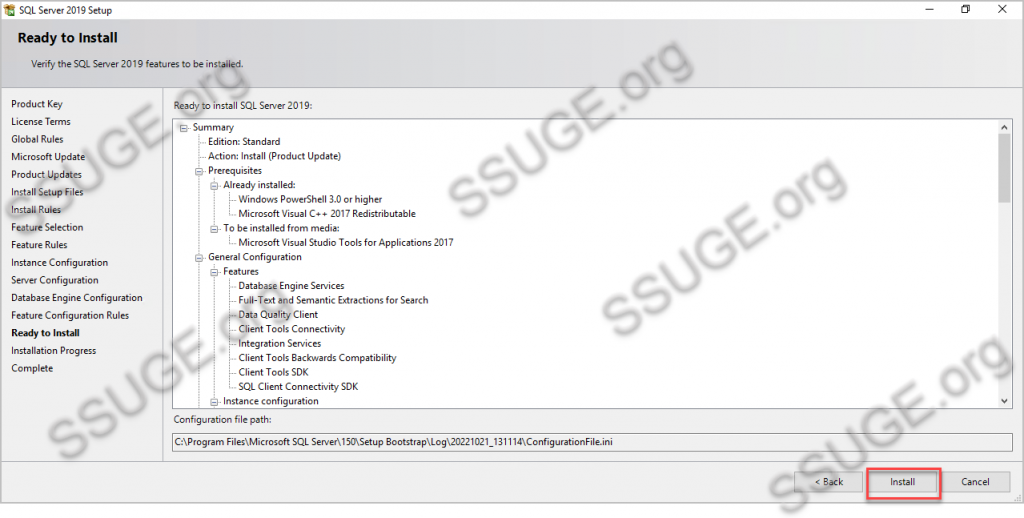
Click Install…
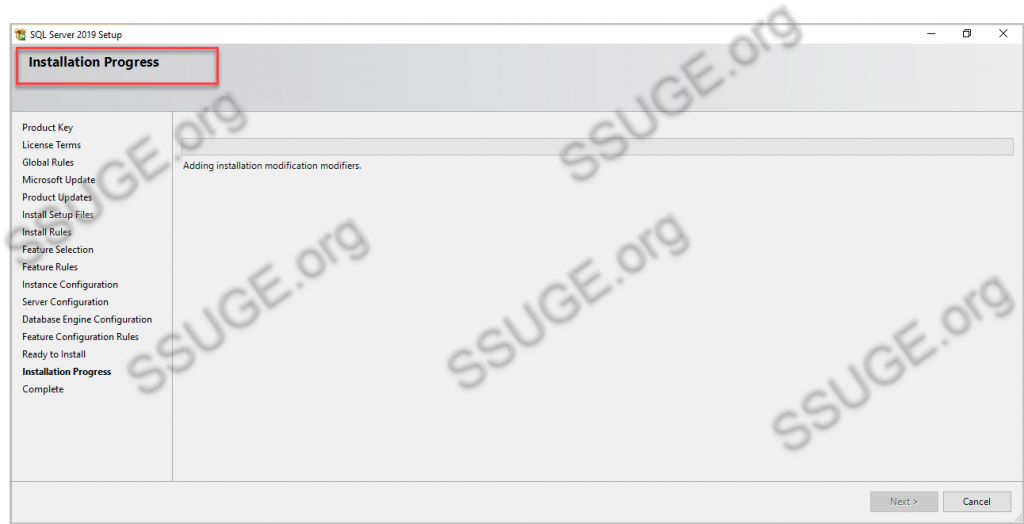
Once the installation completes, you will see this confirmation. Scroll down to confirm all components have the green check mark which confirms successful installation.

You have successfully installed SQL Server. Congrats!!